


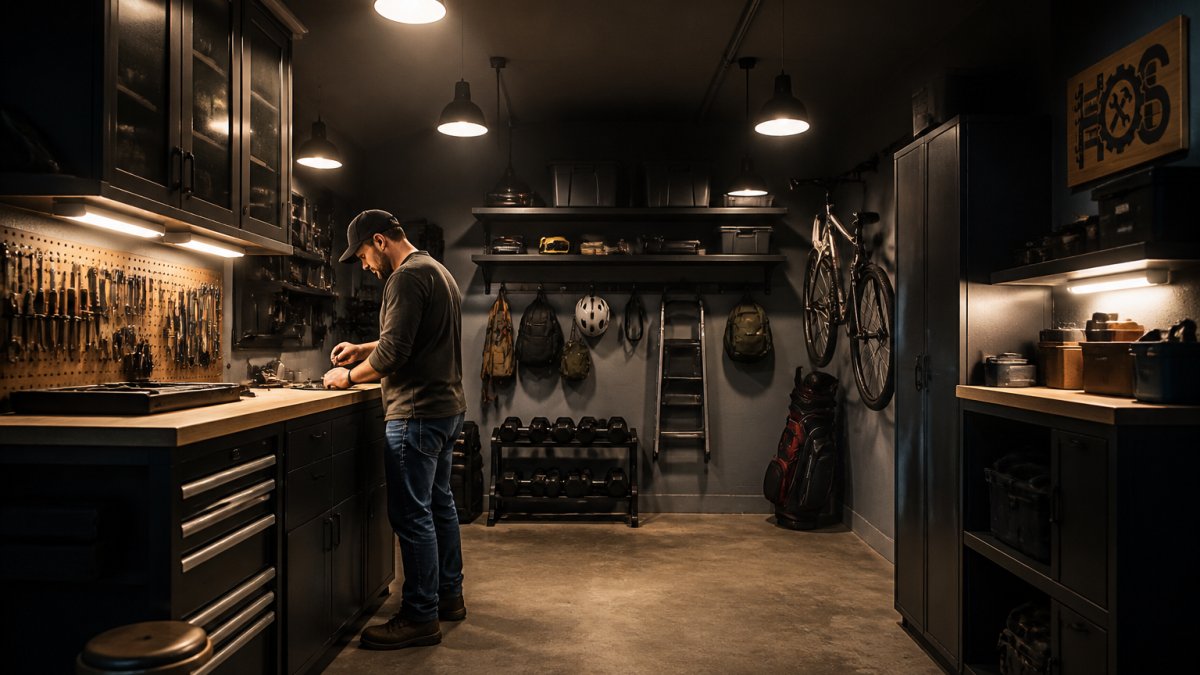
How Can You Brighten a Small Dark Garage?
Last Updated: October 24, 2026
Quick Summary
Small dark garage lighting requires a strategic combination of overhead ambient fixtures, task-specific lighting above your workbench, and supplemental accent lights to eliminate shadows and improve visibility. LED fixtures positioned in multiple locations outperform a single overhead bulb, with two well-positioned ceiling fixtures typically providing better coverage than one bright light in the middle.
- Aim for 50 foot-candles in work areas and 30 foot-candles in storage zones, roughly 500 lumens per 100 square feet for ambient lighting.
- Choose 4000K to 5000K color temperature for better color rendering and detail visibility compared to warm light.
- Mount task lighting 24 to 36 inches above your workbench to prevent glare while ensuring even illumination.
- LED fixtures consume 15 to 25 watts versus 40 to 60 watts for older incandescent or fluorescent fixtures at equivalent brightness.
- Install fixed lighting on a dedicated circuit separate from outlet circuits to prevent breaker trips when using power tools.
Table of Contents
- Understanding Small Dark Garage Lighting Challenges
- Garage Lighting Layout: Where to Place Your Fixtures
- Best LED Lights for Garage Brightness and Efficiency
- Garage Lighting for Workbench Tasks and Detail Work
- Motion Sensor Garage Lights for Convenience and Safety
- Energy Efficiency, Wattage, and Electrical Load Considerations
- DIY Garage Lighting Installation Without an Electrician
- Planning Your Garage Lighting Upgrade
- Frequently Asked Questions
Understanding Small Dark Garage Lighting Challenges
A small dark garage creates real problems. Tools go missing in shadows. Workbench tasks become frustrating. Safety hazards hide in corners. The challenge isn't just about brightness, it's about the right light in the right places. Small dark garage lighting requires a different approach than larger spaces because every fixture counts, and poor placement wastes both energy and money.
The core issue is that most homeowners treat garage lighting as an afterthought. A single overhead bulb leaves corners dark and creates harsh shadows across workbenches. This forces you to work around limitations instead of working efficiently. The fix starts with understanding what you're actually trying to accomplish: general visibility, task-specific brightness, and safety. Once you know your needs, the right combination of fixtures makes a dramatic difference.
Garage Lighting Layout: Where to Place Your Fixtures
The placement of your fixtures matters more than the wattage. Start by mapping your space: identify your workbench, storage areas, and high-traffic zones.
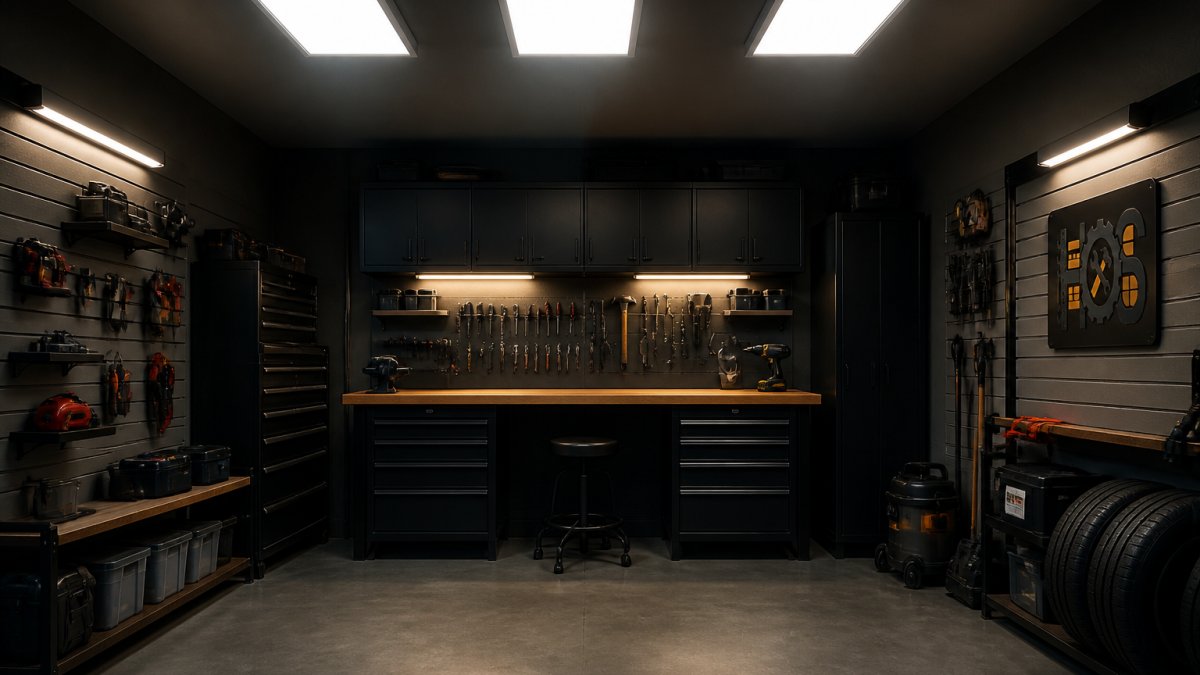
Overhead lighting should cover your entire garage with ambient lighting, think of this as your base layer. Mount ceiling fixtures toward the center to avoid creating shadows along the walls.
Wall-mounted fixtures handle the secondary layer. Position these along the walls where you store tools or park your vehicle. Wall lights eliminate the dark corners that overhead fixtures miss.
Your workbench deserves dedicated task lighting. This is where you need the most brightness and the best color rendering. Mount a fixture directly above your work surface or use under-cabinet strip lighting that illuminates the entire benchtop without creating glare.
Best LED Lights for Garage Brightness and Efficiency
LED technology has transformed garage lighting. LEDs consume far less energy than older fixtures while delivering superior brightness and longevity. When you're selecting LED lights for your garage, focus on lumens, color temperature, and fixture type rather than wattage alone.
Lumens measure actual brightness output. For a small dark garage, you need adequate lumens per square foot to eliminate shadows. A general rule: aim for 50 foot-candles of illumination in work areas and 30 foot-candles in storage zones. This translates to roughly 500 lumens per 100 square feet for ambient lighting, with higher intensity in task areas.
Color temperature affects how you perceive brightness and detail. Measured in Kelvin, color temperature ranges from warm (2700K) to cool (5000K and above). For garages, 4000K to 5000K is ideal, this cool white range mimics daylight and improves color rendering index (CRI), making it easier to see true colors and fine details. Warm light makes spaces feel cozier but reduces visibility for precision work.
LED Shop Lights vs. Panel Lights
Shop lights and panel lights serve different purposes in a small dark garage. Shop lights are traditional linear fixtures that mount flush to the ceiling. They're affordable and effective for general illumination. Panel lights are flat, square or rectangular fixtures that distribute light more evenly across a space. Both use LED technology now, but the design differences matter.
Shop lights work best as your primary overhead solution. They're easy to install, widely available, and provide concentrated brightness along their length. For a small garage, two 4-foot LED shop lights positioned parallel create excellent coverage without excessive heat. They're also the most budget-friendly option for getting started with LED upgrades.
Panel lights excel at providing diffused, flicker-free illumination. They scatter light across a wider area, reducing harsh shadows that shop lights sometimes create. If you want a modern look and the most even brightness distribution, panels are your choice. They cost more than shop lights but deliver superior light quality and better color rendering.
Puck Lights, Strip Lights, and Accent Options
Puck lights are small, round fixtures ideal for targeted illumination. Mount them under cabinets, inside storage shelves, or above workbenches to add focused brightness where you need it most. They're plug-in or hardwired, making them flexible for retrofitting existing spaces.
Strip lights are linear LED sources that mount along edges, under shelves, or behind obstacles. They're perfect for eliminating the shadows that fixed overhead fixtures can't reach. Under-cabinet strip lighting above your workbench is one of the most effective upgrades for small garages because it provides task lighting without taking up overhead space.
Rope lights offer flexible, low-profile brightness. They bend around obstacles and fit into tight spaces. While not as bright as shop lights or panels, rope lights excel at providing ambient fill light in corners or along baseboards. They're also dimmable in most cases, giving you control over brightness levels.
Different LED fixture types serve distinct purposes in small garage lighting.
| Fixture Type | Best For | Key Advantage |
|---|---|---|
| Shop lights | Primary overhead ambient lighting | Affordable and easy to install |
| Panel lights | Even brightness distribution | Reduces harsh shadows and flicker |
| Puck lights | Targeted accent illumination | Flexible retrofit for shelves and cabinets |
| Strip lights | Under-cabinet and wall mounting | Eliminates shadows without overhead space |
| Rope lights | Corner and baseboard fill light | Flexible and dimmable for tight spaces |
Garage Lighting for Workbench Tasks and Detail Work
Workbench lighting requires precision. You're examining small parts, reading measurements, and performing detailed work. Generic overhead lighting leaves shadows across your work surface. Task lighting solves this by delivering concentrated brightness exactly where you need it.
Mount your primary task light directly above the workbench, roughly 24 to 36 inches above the work surface. This height prevents glare while ensuring even illumination across your entire work area.
Consider supplemental options: under-cabinet strip lights mounted on the front edge of overhead storage illuminate the benchtop from above. Adjustable gooseneck fixtures give you directional control for precise tasks.
Look for fixtures with high CRI ratings, 90 or above is ideal for detail work. Color rendering index measures how accurately colors appear under the light source.
Astro Series 96 in. W x 79 in. H x 20 in. D Garage Cabinet Set B →
[INTERNAL_LINK_PLACEHOLDER: If you're building a dedicated workspace, a quality workbench makes a real difference. You can explore garage storage and workbench options that integrate with your lighting layout.]
Motion Sensor Garage Lights for Convenience and Safety
Motion sensors add convenience and safety to garage lighting. They eliminate the need to find light switches in the dark and ensure your garage is illuminated when you enter. Modern motion sensor lights are reliable, energy-efficient, and easy to install.
Motion sensors work best for entry lights and general ambient fixtures. Mount a motion-activated fixture near your garage entry so lights activate automatically when you arrive. This is especially valuable if you're carrying items and can't easily reach a switch.
The technology is straightforward: infrared sensors detect movement and trigger the light to turn on. Most fixtures include adjustable sensitivity and timer settings.
Avoid relying on motion sensors for your entire garage. They're best used as supplemental fixtures for entry points and storage areas. Your primary workbench and work areas should have dedicated switches so you control brightness independently of motion detection.
Energy Efficiency, Wattage, and Electrical Load Considerations
LED lighting transforms your garage's energy consumption. An older incandescent or fluorescent shop light might draw 40 to 60 watts. An equivalent LED fixture delivers the same brightness at 15 to 25 watts.
Wattage tells you power consumption, not brightness. Lumens measure actual light output. When comparing fixtures, focus on lumens per watt to understand efficiency. A fixture delivering 5000 lumens at 40 watts is more efficient than one delivering 5000 lumens at 60 watts.
Electrical load is critical for small garages. Your garage circuit has a maximum amperage limit, typically 15 or 20 amps in most homes. Calculate your total load: add the wattage of all fixtures you plan to run simultaneously, then divide by 120 volts to get amperage.
A practical approach: install your fixed lighting fixtures on a dedicated circuit separate from your outlet circuits. This prevents your work lights from competing with power tool circuits. If your garage currently lacks adequate circuits, consult a licensed electrician.
DIY Garage Lighting Installation Without an Electrician
Many lighting upgrades don't require an electrician. Plug-in fixtures, puck lights, and strip lights are straightforward installations. Hardwired fixtures require more skill, but basic installations are manageable for confident DIYers.
Start with plug-in options. LED shop lights with built-in plugs mount directly to your ceiling with brackets and screws. No electrical work required. This approach lets you test different fixture types and positions before committing to hardwired installations. Puck lights and strip lights also plug in, giving you flexibility to adjust your setup as needs change.
For hardwired installations, turn off power at your breaker panel before working. Learn from another homeowner's experience with garage electrical projects. Verify power is off using a non-contact voltage tester.
Safety matters: improper electrical work creates fire and shock hazards. If you're unsure about any step, stop and consult a licensed electrician.
Planning Your Garage Lighting Upgrade
Start by assessing your current situation. Photograph your garage in its current state. Note where shadows appear, where you struggle to see details, and where you spend the most time working.
Create a simple sketch of your garage layout. Mark your workbench, storage areas, and entry points. Indicate where existing ceiling boxes or outlets are located.
Prioritize in phases. Phase one: install overhead ambient lighting to eliminate the darkest areas. Phase two: add task lighting above your workbench. Phase three: add accent and supplemental fixtures as budget allows.
Consider your total electrical load before installing multiple hardwired fixtures. If you're adding several fixtures to an existing circuit, verify your circuit can handle the additional load.
Quality fixtures matter more than quantity. One excellent LED shop light delivers better results than three mediocre fixtures.
Transforming a small dark garage into a functional workspace starts with strategic lighting. The right combination of overhead ambient lighting, task-specific fixtures, and supplemental accent lights eliminates shadows and makes your space genuinely usable.
Frequently Asked Questions
How many lumens do I need to light a small dark garage?
For a small garage (up to 250 square feet), aim for 50 to 100 lumens per square foot of usable workspace. A 150-square-foot garage typically needs 7,500 to 15,000 total lumens. This varies based on the color of your walls and ceiling, darker surfaces absorb light, so you may need the higher end. Task areas like workbenches benefit from 100+ foot-candles of direct light for precision work.
What's the best color temperature for garage lighting?
Daylight color temperature between 4000K and 6500K works best for garages. This range mimics natural sunlight and helps your eyes distinguish colors and details accurately, which is crucial for tool work and vehicle maintenance. Avoid warm white (2700K) in garages, as it can make shadows more pronounced and reduces visibility for detailed tasks. A color rendering index (CRI) of 80 or higher ensures colors appear true to life.
Can I add garage lighting without hiring an electrician?
Yes, plug-in LED shop lights, magnetic puck lights, and adhesive strip lights require no hardwiring. These options work well for small garages and can be installed in minutes. However, if you want permanent ceiling-mounted fixtures or need to run new circuits due to electrical load concerns, hiring a licensed electrician is the safer choice. Always check your garage's existing circuit capacity before adding multiple high-wattage fixtures.
Are LED shop lights better than fluorescent lights for a small garage?
LED shop lights outperform fluorescent options in nearly every way. They produce instant-on brightness without flicker, generate less heat, last 25,000+ hours versus 10,000 for fluorescent, and consume 40% less energy. LEDs also offer better color rendering and are more resistant to temperature swings in unheated garages. The upfront cost is higher, but the long-term savings and superior performance make them the best choice for small dark garages.



Leave a comment
This site is protected by hCaptcha and the hCaptcha Privacy Policy and Terms of Service apply.